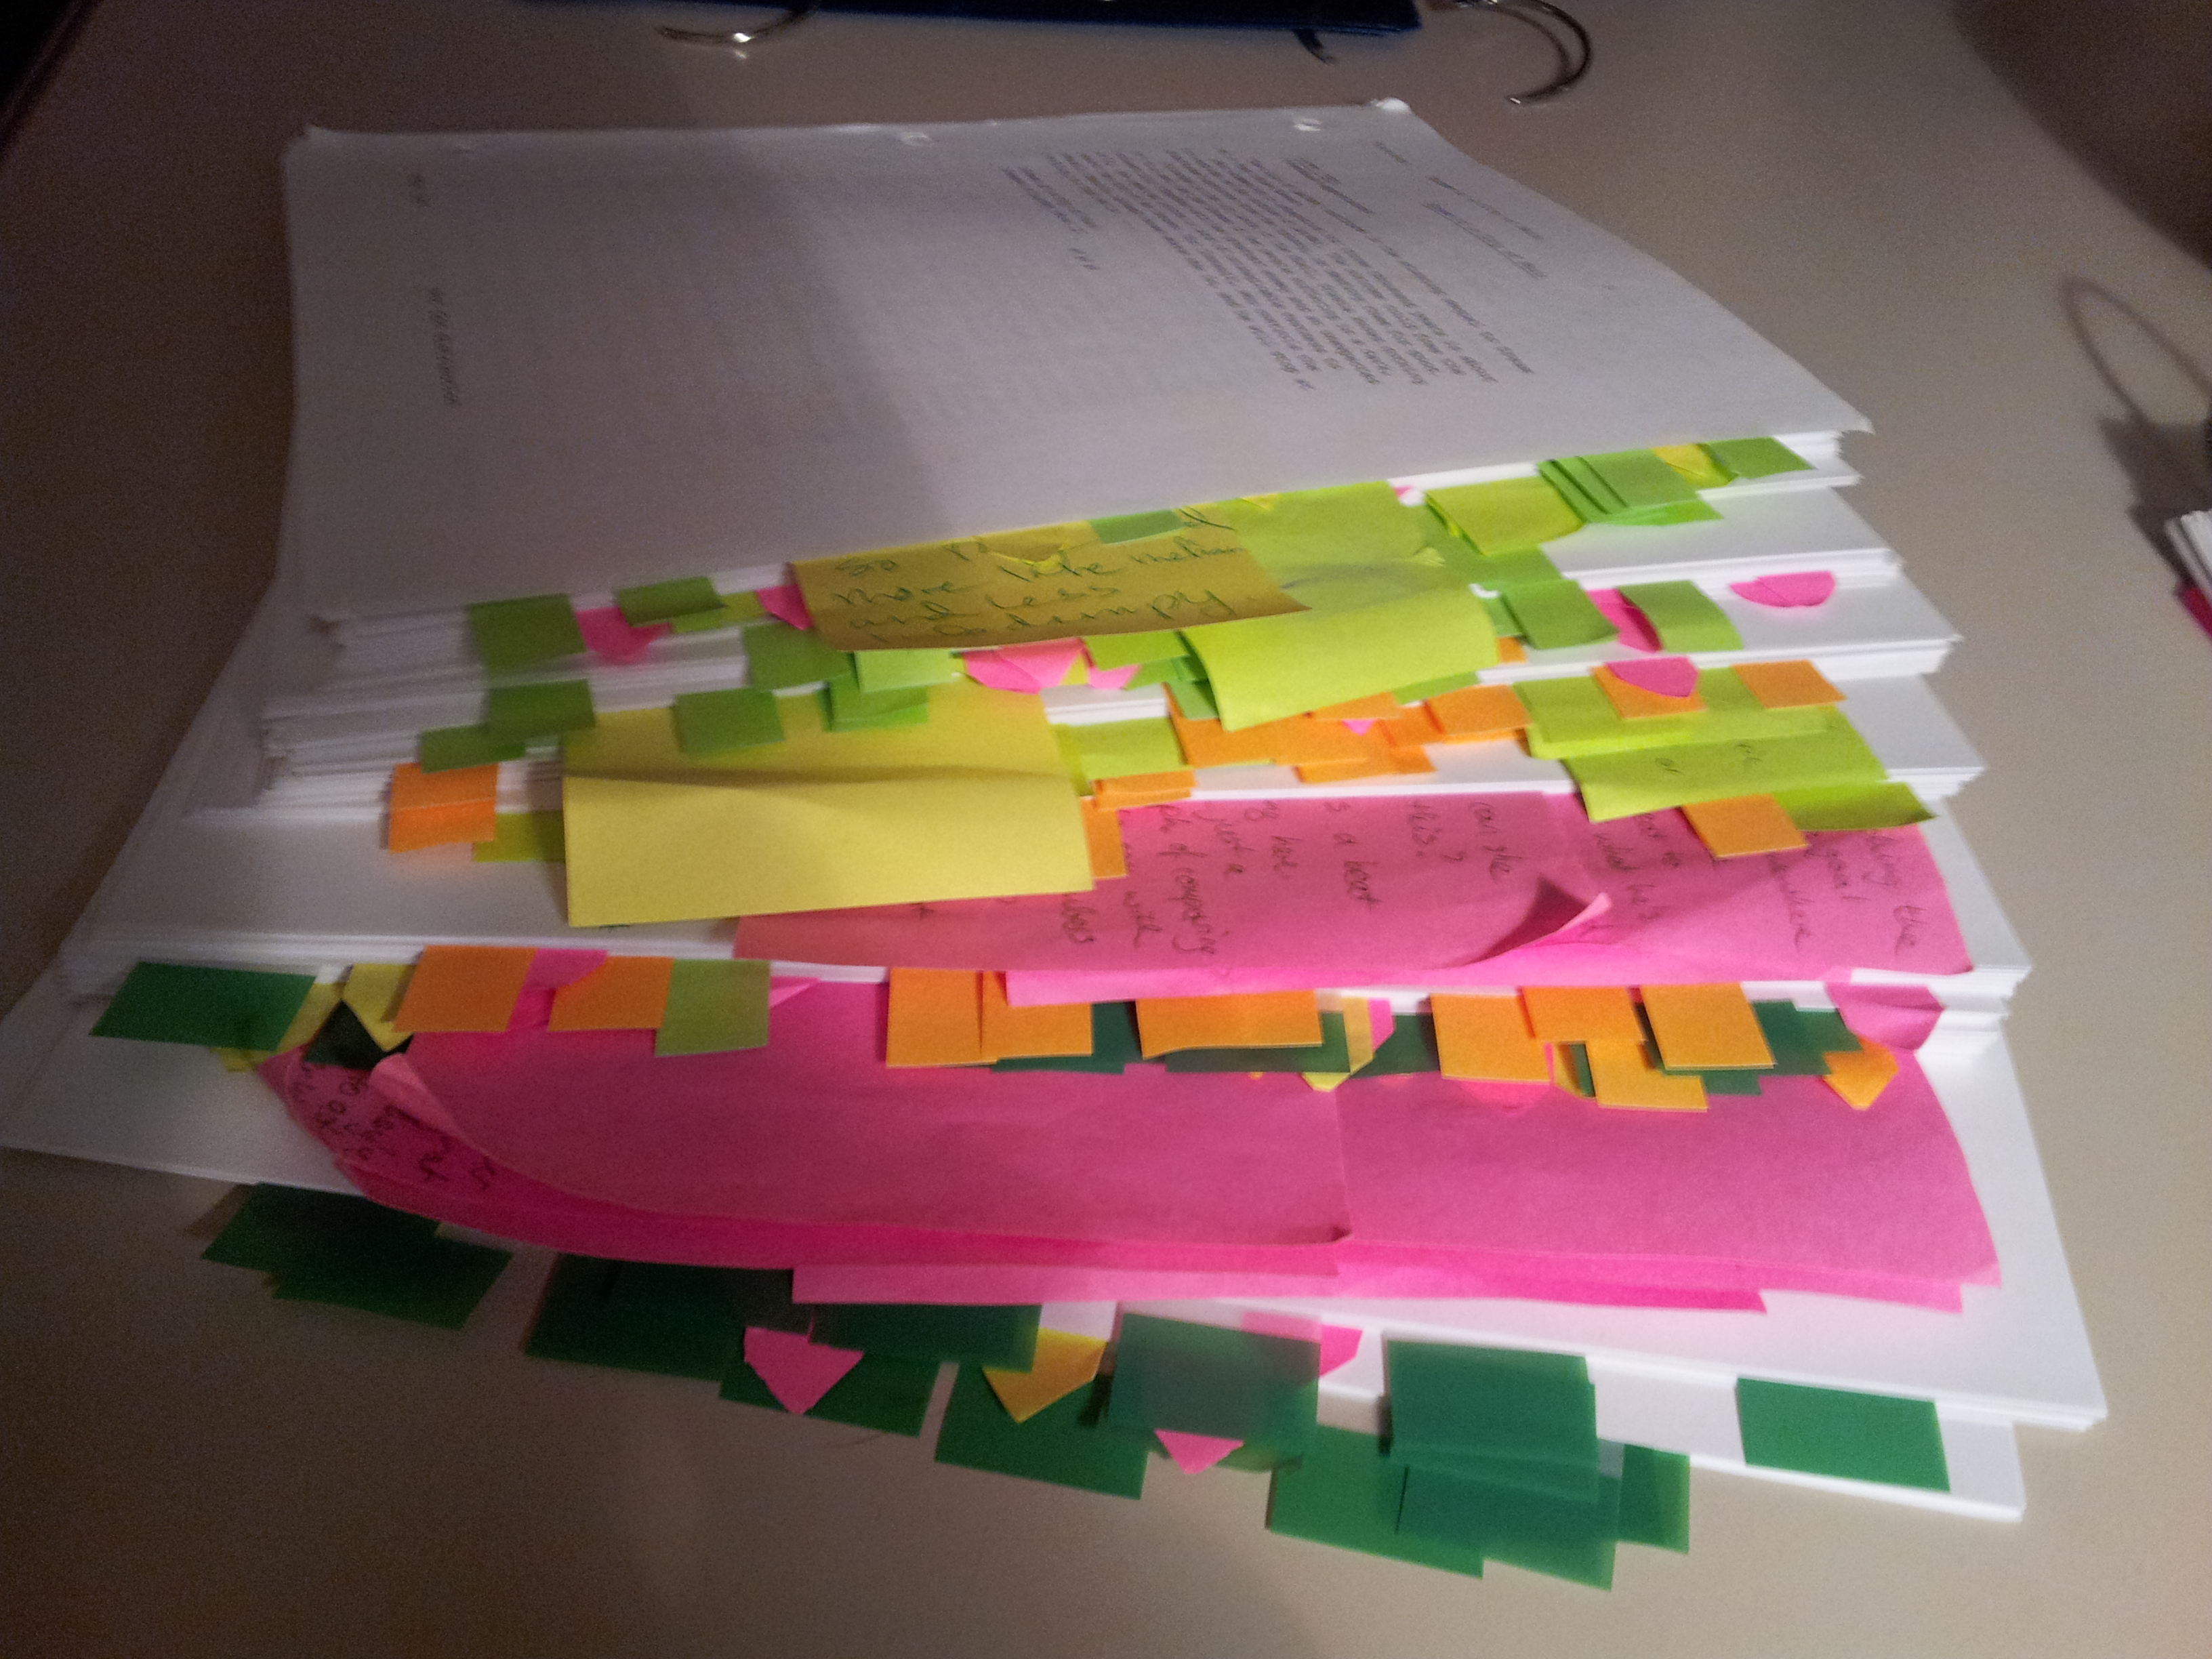
101 TIWIK #74: From Manuscript to Book: Creating Your Template

You’ve decided it’s time to publish your book. You’ve decided to go the indy route and publish it yourself. And because you don’t want to spend a lot of money not knowing how your book will sell, you’ve decided to do the interior formatting and design yourself.

But the last thing you want is for the book to look like a do-it-yourself project. You can tell the difference all too often when you skim self-published books. More often than not, they look self-published, and not in a quirky, love-able way.

Fortunately, the learning curve on formatting the interior of your book is steep, and it’s actually really easy to produce a product indistinguishable from something a major publisher might release.

The first time I formatted my book for print, it took about a week, working about six hours a night after I came home from work. I kept making formatting errors that would lead to other errors when I fixed them. But I came away from the experience with a template and a lot of knowledge about how to use section breaks in Word. When I released my second book, I used that template to format my entire novel in one afternoon.

Once you know what you are doing, it’s easy to turn your manuscript into a book, and if you’re crazy like me, it can actually be kind of fun. Here are a few things I learned the hard way, so you don’t have to:

Model After Professionally Produced Books

The best way to find content for your template is to look at how professionally produced books are put together. Go to your bookshelf right now and take down a few books that fit your genre. Flip through the front and back pages. What kinds of things do they have in addition to the story itself?

Assuming you are publishing fiction, here are a few things you’ll probably find:

Typically in the front:

  • A title page

  • A copyright page

  • A dedication

  • Table of Contents

  • Acknowledgements

  • Maps and other ancillary matter

  • An introduction or prologue

Typically in the back:

  • An epilogue or afterword

  • A glossary or appendices

  • Sample chapters

  • Promotional materials

  • Other ancillary materials

  • Author’s note

  • Author biography

I’ll go into some detail on which of these you’ll want to include and how to create the content you’ll need, in the next few posts. For now, I’ll just say that you should dedicate space to the ones you choose to include in your template.

Create the Digital Template First

When I formatted my first book, I made the mistake of creating the print template first, then using that to make the digital template. I advise doing it the other way. The print template requires quite a bit in terms of formatting, where the digital template is actually required to be somewhat unformatted. As it is more fluid, you can make more last-minute changes to the digital template with less at stake. Once you start working in the print template, you want all of your text to be final.

How To Create Your Digital Template

Open Word. Create a page using page breaks for each of the front and back materials you’ve decided to include (you can fill in the material later, for now just make a heading). Between the front and back materials, paste the text of your novel. I use Times New Roman as the font for the digital file, in 12 point font, only because it’s easy for me to proof on the screen. It doesn’t matter what font you use as the ereader will determine the font for the consumer. I do use a larger point font for the headings, and I add page breaks after the chapter endings. (I’ll talk more about chapter structure in a couple of posts).

The hardest part of formatting the digital file is creating a live TOC. This just means you’re linking the Chapter name in the Table of Contents to the Chapter heading in the document. The Smashwords Style Guide tells how to do this in detail.

A note about Smashwords: They will tell you to clear the formatting on your entire document. You probably don’t need to do this if you follow the rest of their instructions. It’s a really bad idea to do this if you have a lot of italics, like I tend to. Clear format will remove all your italics, and you will have to manually format them all over again. Good luck remembering where they were. My advice, if you are using Smashwords, is to upload your book and see if it works first, then clear formatting only as a very last resort.

Choose Standard, Professional Fonts

For the print book, you will need a font, and your choice can distinguish your book from the dross of the self-publishing world. One of the advantages to making a template, especially if you are writing a series, is that you can keep your font consistent across the series without having to scratch your head trying to remember what font you used for the last book.

For the body text, choose a font that is easily read and resembles a professional book font. Without going too deeply into font choices (there are plenty of other blogs that will happily do so) I have to say you can’t go wrong with Garamond as your body font.

For header fonts, you want to match the font used for the title on your book cover. This should be something that fits the tone and genre of your book but still looks professional, not too decorative. The font I used for headings in my first book was a little too spirally and looks slightly over-done. My new font, the one used for all my cover titles now, is much cleaner but still has a slightly gothic feel.

Create Your Print Template Using Word

If you want, you can download interior templates from the CreateSpace website. It might work well for you. I tried using a template on Book I, but my chapter structure was somewhat complex, and I wanted to learn the process so that I could have the flexibility to design the book the way I wanted it.

While it’s easy to do once you know what you are doing, you have to know what you are doing first. I’m not going to give step by step instructions here because there are a lot of them out there. The ones on this site are pretty good, although they leave out a few important things.

As the author states, the main thing you will stumble over is headers, footers and section breaks. The key is section breaks. When a section break is giving you trouble, delete it and start over. Also, a huge thing that the author of these instructions doesn’t mention is using the “reveal formatting” button in Word to show paragraph marks, spacing, and section breaks. This button will be your best friend for the duration of formatting!

If you are still having trouble even using the instructions, don’t feel bad. Even with instructions, it took me a long time to format my first book. If any one part of the formatting isn’t working, Google that specific aspect of Word for an answer. For example “How to manage page numbers in Word” or “What do section breaks do” might be good things to look up.

Finally, make sure you understand the process and are using it correctly on the first chapter page, before you move on to formatting every single chapter page. This will help you avoid having to reformat everything all over again as you learn what you are doing.

When you get frustrated, just remember, at least you don’t have to place each letter in your entire book by hand, as you would using an old-fashioned printing press.

Now you know how to format your book, but how do you choose what front and back matter to include? In 101 TIWIK #75: Front Matter Matters, I’ll talk about how to make decisions that will keep your book above the curve, and how to create engaging materials once you’ve decided to include them. Stay tuned!

Leave a comment

Your email address will not be published. Required fields are marked *